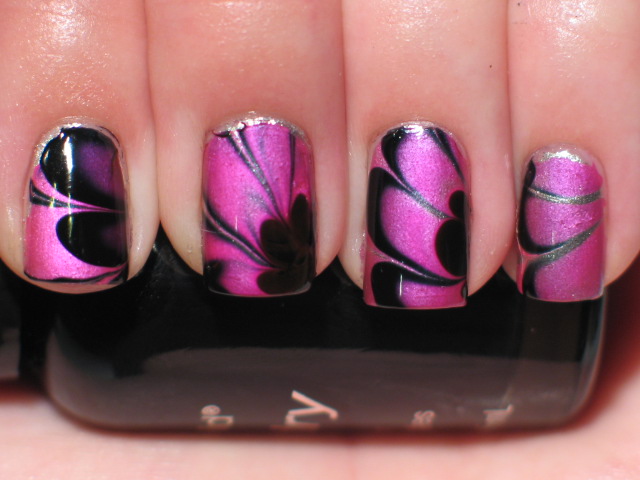
Water Marble Nail Art Dries Too Fast

No Mess Watermarble Tutorial Manna S Manis
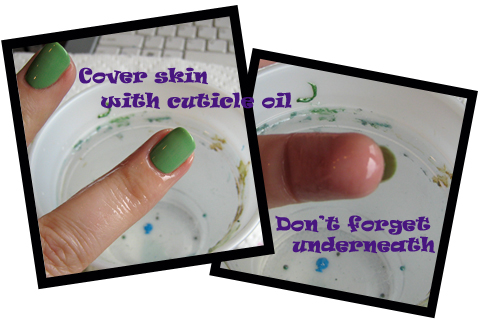
Lacquerish Nail Art Water Marble Secrets Revealed Tips Tricks Pic Heavy

Nail Art Tutorial Water Marble Decals Nail It

Water Marbling Tips And Step By Step Guide Nail It
Nail Art Tutorial Water Marbling 101 Nailpro

Easy Water Marble Nail Art Technique Marble Nail Art Nail Art Techniques Water Marble Nail Art

Today i ll show you how to stamp a water marble instead of dipping into the cup.
Water marble nail art dries too fast.

Water Marble Your Nails Perfectly Youtube

Whats Up Nails Nail Art Challenge Water Marble Veil Technique Supernovabeauty

Black Neon Water Marble Nail Art Tutorial Water Marble March 2014 3 Youtube

Nail Art Tutorial Water Marble Nails Nail It

Tutorial 4th Of July Striped Water Marble Mucking Fusser
My First And Last Water Marble Manicure All Lacquered Up

Notd Easy Dry Marble Effect Nail Art Black Cat Nails Black Cat Nails

Water Marble Nail Art 13 Steps With Pictures Instructables

Toothpick Nail Art 2 Easy Tricolor Swirl Nails Tutorial Nail Art Tutorial Toothpick Nail Art Trendy Nail Art

The One Trick To Drying Your Nail Polish Insanely Fast Dry Nails Fast Dry Nails Quick Dry Nail Polish

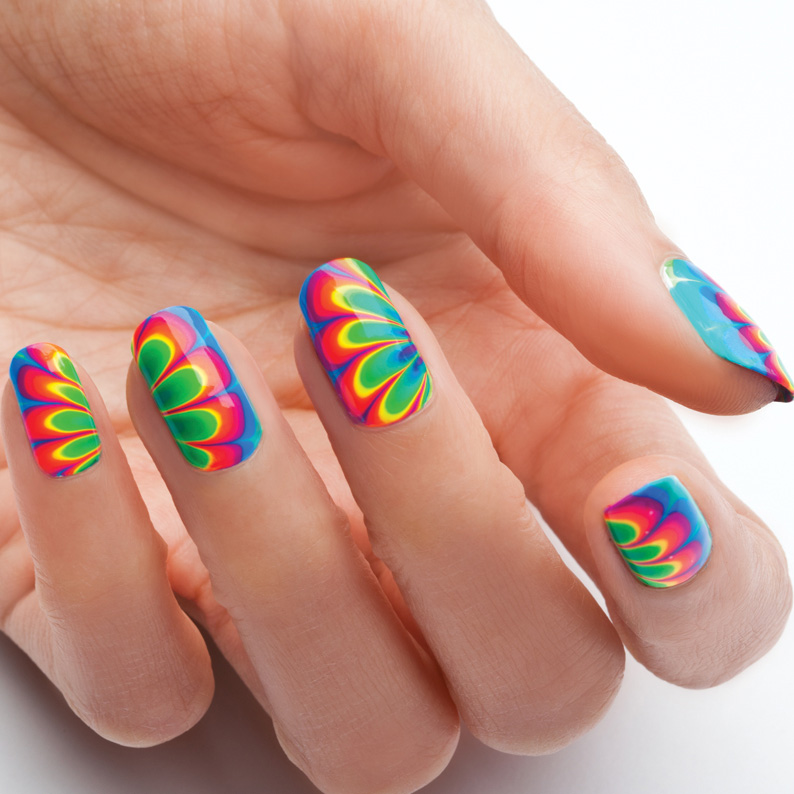
Water Marble Rainbow Nail Art By Greeench Greeench Rainbow Nail Art Nails Kids Nail Designs

Water Marble Nails How To Finally Master This Nail Art Technique Sheknows

Pin By Sabo Skirt On Nails Popular Pins Water Color Nails Water Marble Nail Art Marble Nail Designs

Tutorial For My Watermarble Mani Peel Off Stuff From Bundlemonster Audio From Bestmixed Watermarble Tips Use Room Temp Wate With Images Mani Polish Words Sally Hansen

Water Marble Nails Art Tutorial 14 Insanely Easy Steps

Nail Art Tutorial Nail Designs Nail Art How To Rainbow Watermarble Nails Nailit Magazine Nail Art Tutorial Tie Dye Nails Nail Designs
Galina On Instagram Valentine S Day Water Marble I Use Opi Products Alpine Snow Pink Friday Nail Designs Valentines Cute Pink Nails Pink Nail Designs
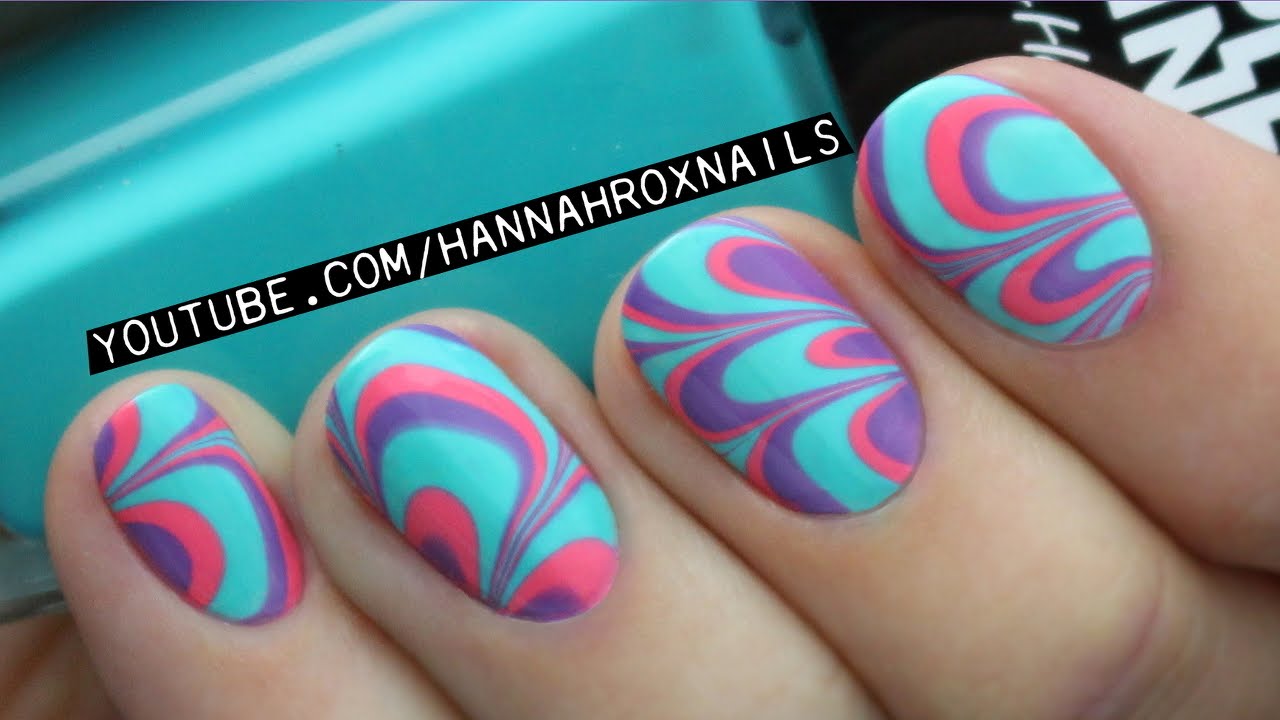
Water Marble Nail Art Tips Tricks Youtube
1

Want A Cute Design Polish Dry Too Fast Try This Paint The Design On A Plastic Baggie Let Dry Peel And Apply To Nail Art Hacks Nail Art Diy Stick

Pin Auf Marmor

Marble Nails Fun Water Color Nails Simple Nails Diy Nails

Saw This On Facebook And It Made So Much Sense Nail Art Hacks Marble Nail Art Easy Nail Art

Water Marble Nail Art How 2 Marble Nails Tutorial Nail Art Tutorial Water Marble Nail Art
Source : pinterest.com
